TS-0311-100X - eBoost 3 Firmware UpdateUpdated 15 hours ago
eBoost 3 - Firmware Update Procedure
Before commencing update, it is important to note down any settings used in the device as they will be overwritten and cannot be recalled.
Download update package by clicking this link. A .zip file should automatically download to your PC after clicking the link.
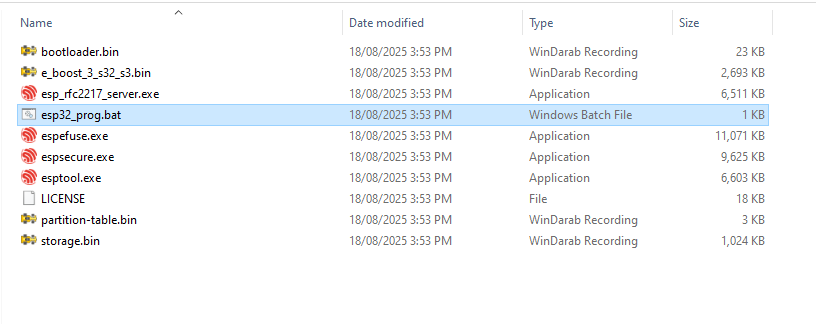
Unzip package to a convenient location.
Connect your eBoost3 to a PC via USB C Cable.
Your eBoost3 unit will power on from just having the USB cable connected (note: under USB Power the pressure reading will not be accurate. (This is normal))
Run the file named “ esp32_prog.bat”by double clicking on it
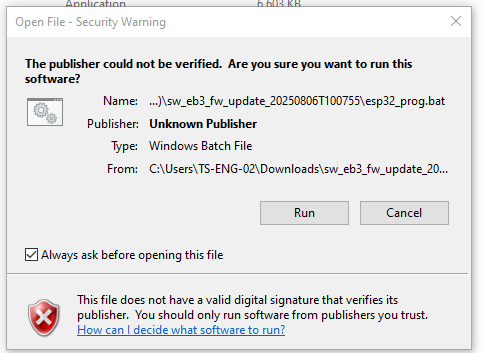
IF Fatal error occurs, switch to another USB C Cable.
A command window will appear and should look similar to what is shown below: This section is important. If it fails within ~3 seconds try another USB C.
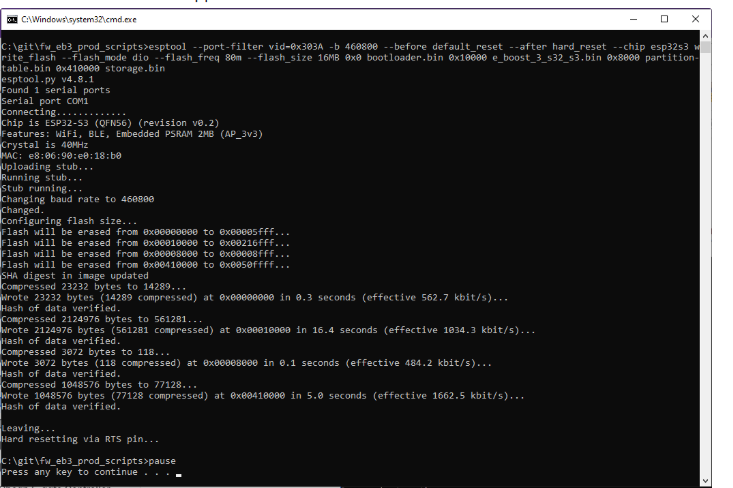
- Once completed the window will exit
Cycle the power by removing and reinserting the USB-C connected to the eBoost3.
Check the screen is active and shows the boost gauge
Check the boost gauge needle moves to about 0
You are half way there, in the next step you will install the I/O board firmware using the eBoost unit itself !
At this point the eBoost will likely be showing incorrect pressure sensor readings (Full Vacuum). That's normal - follow the remaining steps to complete the firmware upgrade.
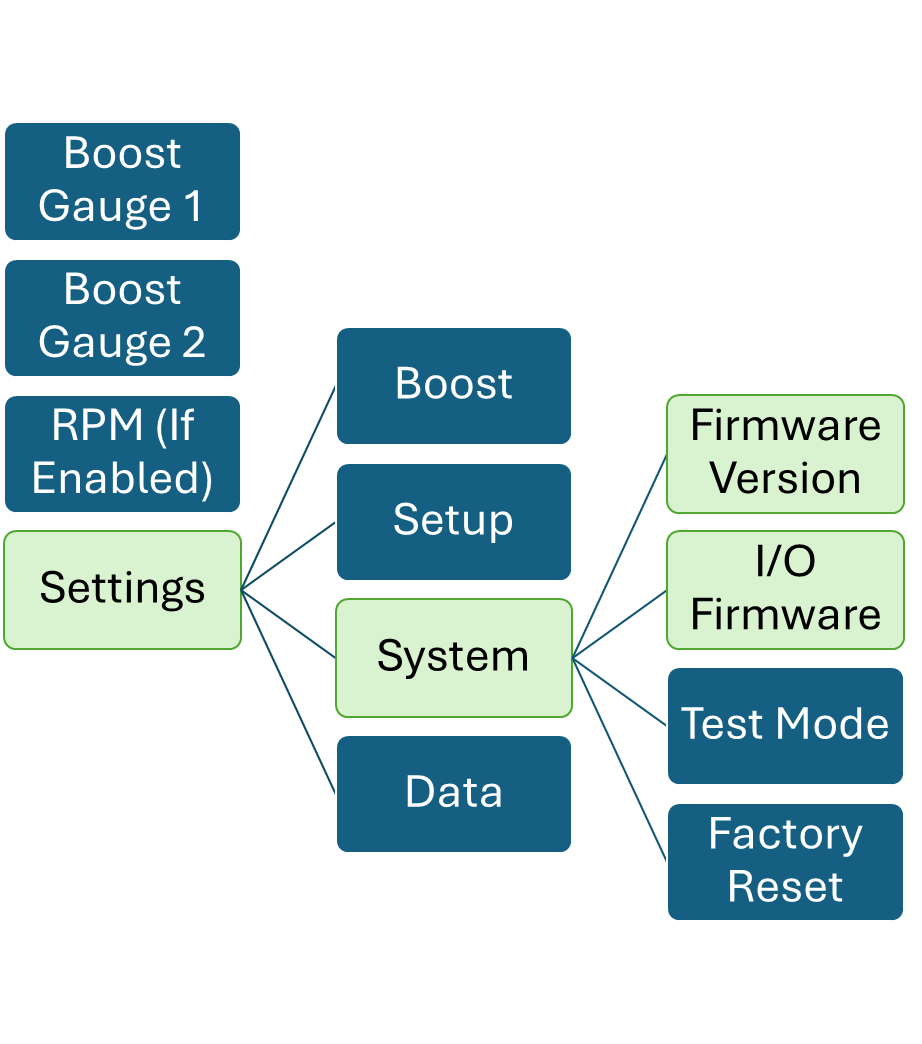
Using the eBoost's on screen display navigate to Settings->System->I/O Firmware
- You will notive there is now a difference between the "Current" and "Available" firmware in the I/O Firmware menu. Clicking "okay" will install the new I/O firmware into your eBoost3
Wait for update to complete
Cycle power
the I/O Firmware Current and Available should now match, this signals that the latest firmware has been now written to the eBoost3 and the unit is now fully updated.